If you’ve ever thought “I could never bake bread,” this recipe is going to change your mind in about five minutes of actual work. No kneading. No stand mixer. No bread machine. Just four ingredients, a bowl, and time doing all the heavy lifting while you sleep.
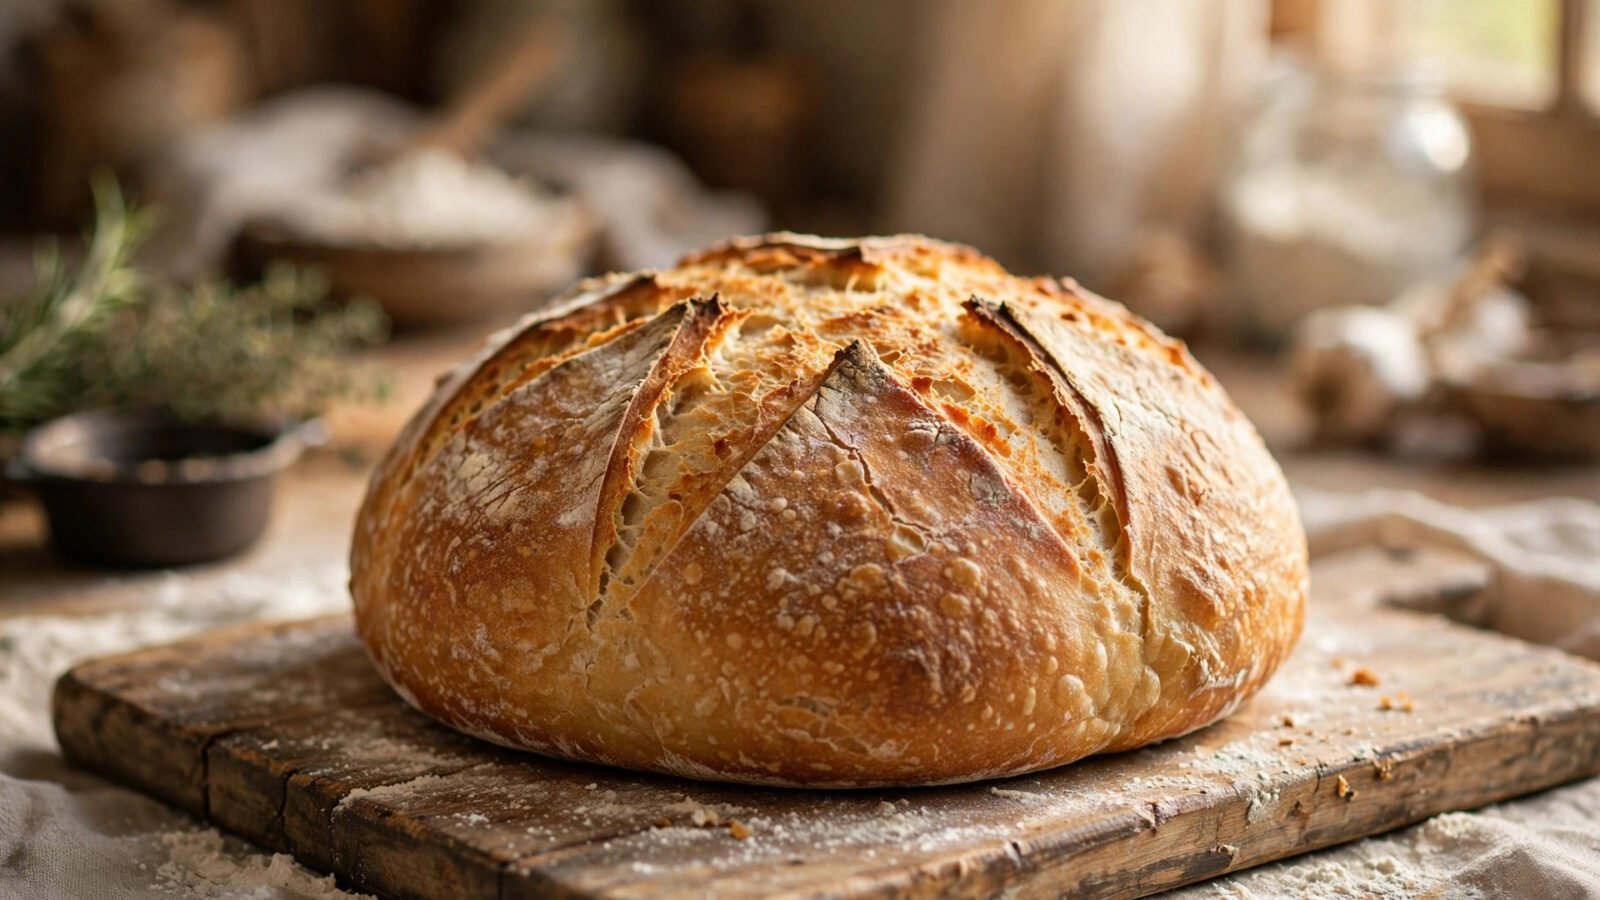
This is the famous no-knead method: a wet dough and a long, slow fermentation develop all the gluten and flavor that kneading used to provide. The result is a farmhouse loaf with a crackling crust, an open airy crumb, and a wheaty tang that tastes like it came from a wood-fired bakery — not your kitchen counter.
I’ve baked this loaf hundreds of times. It has never failed me, and it’s the recipe I give to every beginner. Let’s bake.
Why No-Knead Works (The 30-Second Science)
Traditional bread recipes knead dough to develop gluten — the protein network that traps gas and gives bread its structure. No-knead bread skips the workout and uses time instead. Over 12–18 hours, enzymes in the flour and a tiny amount of yeast do the same job slowly: gluten forms on its own, and the long ferment builds deep, complex flavor that a 2-hour rise can’t match.
The other secret is the Dutch oven. Baking the loaf in a preheated, covered pot traps steam, which keeps the crust soft long enough for maximum oven spring, then browns it into that shattering, bakery-style crust. No Dutch oven? A heavy oven-safe pot with a lid works — even a deep casserole dish covered tightly with foil in a pinch.
The Recipe: 4 Ingredients, That’s It
Makes one round farmhouse loaf (about 1.5 lbs)
Ingredients:
- 3 cups (390g) all-purpose or bread flour, plus extra for dusting
- 1/4 teaspoon instant yeast (yes, really — that’s all)
- 1 1/4 teaspoons fine sea salt
- 1 1/2 cups (355ml) lukewarm water
Equipment: large mixing bowl, plastic wrap or a damp towel, parchment paper, Dutch oven or heavy lidded pot (at least 4-quart).
Timing overview: 5 minutes hands-on → 12–18 hour rise → 10 minutes shaping → 30 minute rest → 45 minutes baking. Start the dough the evening before you want bread.
Step-by-Step Instructions
1. Mix (5 minutes, evening). In a large bowl, whisk together the flour, yeast, and salt. Add the lukewarm water and stir with a wooden spoon or your hand until a shaggy, sticky dough forms — no dry flour left, but it should look rough and messy. That’s perfect. Do not knead.
2. The long rise (12–18 hours). Cover the bowl with plastic wrap or a damp kitchen towel and leave it at room temperature (around 70°F is ideal). Go to bed. Go to work. Live your life. When you come back, the dough will have more than doubled, with bubbles on the surface and long gluten strands when you pull it. If your kitchen is cold, give it the full 18 hours; if warm, 12 is plenty.
3. Shape (10 minutes). Generously flour your counter and scrape the dough out — it will be sticky and loose, which is normal. With floured hands, fold the dough over on itself 3–4 times (top to center, bottom to center, sides in), then flip it seam-side down and tuck the edges under to form a rough ball. Don’t overwork it; you’re just giving it structure, not kneading.
4. The second rise (30 minutes). Place the dough seam-side down on a sheet of parchment paper, cover loosely with the towel, and let it rest while your oven preheats. Put your Dutch oven (with its lid) in the oven and preheat to 450°F for a full 30 minutes. A screaming-hot pot is non-negotiable — it’s what creates the crust.
5. Bake covered (30 minutes). Carefully lift the parchment with the dough into the hot Dutch oven (watch your hands — that pot is 450°F). If you like, slash the top with a sharp knife or razor in an X or a single curve about 1/2 inch deep. Cover with the lid and bake 30 minutes.
6. Bake uncovered (12–15 minutes). Remove the lid. The loaf will have sprung up dramatically. Bake another 12–15 minutes until the crust is deep golden brown — darker than you think. A pale loaf is an underbaked loaf.
7. Cool (at least 1 hour). This is the hardest step. Transfer the loaf to a wire rack and do not cut it for at least an hour. The interior is still finishing as steam escapes; slicing early gives you gummy crumb. Listen for the crackling as the crust cools — that’s the sound of success.
Crumb Tips: Getting That Open, Airy Interior
The holy grail of farmhouse bread is the open crumb — those irregular holes that catch butter and olive oil. Here’s how to get it:
- Don’t skimp on the water. The dough should be genuinely sticky and wet. If you add too much flour during shaping, you’ll tighten the crumb. Wet dough = open crumb.
- Handle it gently after the long rise. All those bubbles are flavor and texture. Fold and shape with a light touch; never punch this dough down.
- Full preheat matters. If the Dutch oven isn’t ripping hot, you lose oven spring — the burst of rise in the first 10 minutes of baking that opens up the crumb.
- Bake it dark. A deep mahogany crust isn’t burnt — it’s caramelized, flavorful, and structurally sound. Pull it when it looks a shade darker than “done.”
- Bread flour helps, but isn’t required. All-purpose works beautifully. Bread flour’s extra protein gives a slightly chewier crumb if you want to experiment.
Troubleshooting FAQ
My dough didn’t rise much. What went wrong?
The most common culprit is dead yeast — check the expiration date. Second culprit: a cold kitchen. Yeast is sluggish below 65°F. Find a warmer spot (top of the fridge, inside the oven with the light on) and give it more time.
The bottom of my loaf is pale and soft.
Your pot wasn’t hot enough, or you skipped the full 30-minute preheat. The preheated pot is what sears the bottom crust. Also make sure you’re using the middle oven rack.
My loaf spread flat instead of rising tall.
Usually this means the dough was over-fermented (left too long in a warm kitchen) or shaped too loosely. Next time, shorten the rise slightly and tuck the dough into a tighter ball. Even a flat loaf tastes great — call it focaccia’s cousin.
Can I add mix-ins like herbs, cheese, or seeds?
Absolutely — fold in up to 1 cup of add-ins during the shaping step. Rosemary and sea salt, cheddar and jalapeño, or walnuts and honey are all farmhouse classics. Just keep the total under a cup so the structure holds.
How do I store it?
Cut side down on a cutting board for the first day or two (never the fridge — it stales bread faster). For longer storage, slice and freeze in a zip-top bag; toast slices straight from frozen. It also makes the best toast and grilled cheese of your life — which pairs perfectly with a bowl of https://amesfamilyfarm.com/homemade-chicken-stock/ soup.
Variations to Try Next
- Whole wheat farmhouse: swap 1 cup of the all-purpose flour for whole wheat. The crumb will be a little denser, the flavor nuttier.
- Overnight herb loaf: add 2 tablespoons of chopped fresh rosemary and 1 teaspoon of coarse black pepper to the dry ingredients.
- Seeded crust: brush the shaped loaf with water and roll in sesame, sunflower, or pumpkin seeds before the second rise.
Conclusion: The Bread That Starts a Habit
Here’s what happens after you bake this loaf once: you start timing your evenings around it. You keep a jar of yeast in the fridge like it belongs there. You stop buying sandwich bread because yours is better. And when someone asks how you made it, you get to say “four ingredients and no kneading” and watch their face.
Baking your own bread is one of the simplest ways to cut the grocery bill and eat better at the same time — our https://amesfamilyfarm.com/save-money-on-groceries-homestead/ guide has a dozen more swaps in the same spirit.
Bake it this week: mix the dough tonight before bed. Tomorrow evening, you’ll pull a crackling farmhouse loaf out of your oven, and your kitchen will smell like you know exactly what you’re doing. Because you will.