There’s a particular kind of pride that comes from lining a pantry shelf with jars you filled yourself. The jam glows ruby in the light. The lids ping as they seal. And when you twist one open in February, you get summer back for about ninety seconds.
But let’s be honest: there’s fear too. What if you do it wrong? What if someone gets sick? That fear is healthy, and it’s exactly why this guide exists. Water bath canning is one of the oldest, most reliable food-preservation methods in the world — but only when you respect a few rules that are completely non-negotiable.
By the end of this article, you’ll know the seven rules that keep every jar safe, the gear you actually need (less than you think), and you’ll have a full walkthrough of your first batch: a simple high-acid jam.
What Water Bath Canning Actually Is
Water bath canning (sometimes called a “boiling water canner” method) is simple: you pack food into mason jars, cover them completely with boiling water, and process them for a set time. The heat kills off spoilage organisms, drives air out of the jar, and creates a vacuum seal as the jar cools.
Here’s the critical part that everything else depends on: water bath canning is only for high-acid foods — foods with a pH of 4.6 or lower. That includes:
- Jams, jellies, and fruit preserves
- Most fruits (peaches, pears, applesauce)
- Pickles made with vinegar
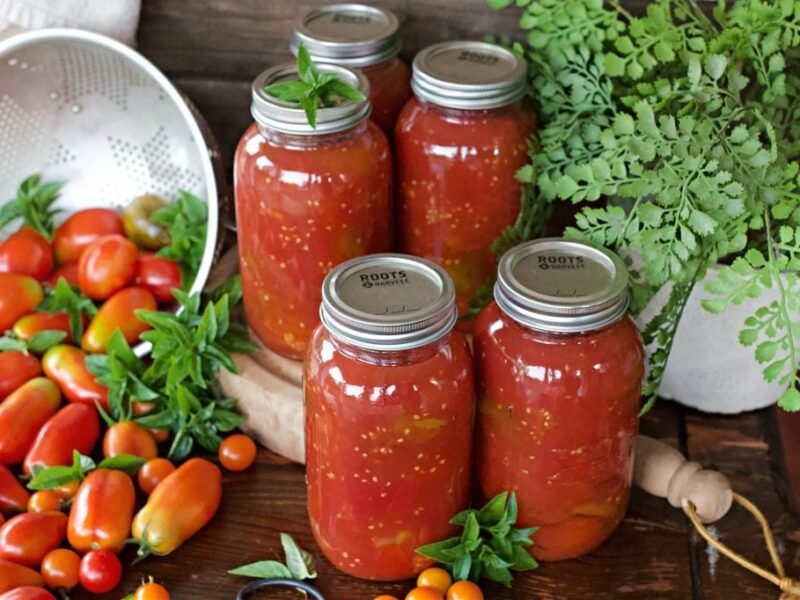
- Properly acidified tomatoes
- Salsas and chutneys from tested recipes
Low-acid foods — plain vegetables, meats, soups, and stock — can harbor botulism spores that survive boiling water. Those must be pressure canned. A pressure canner reaches 240°F+, which kills botulism spores. Boiling water only reaches 212°F. This distinction is the single most important safety fact in home canning. Tattoo it on your brain.
For our full breakdown of when to reach for the pressure canner instead, see https://amesfamilyfarm.com/homemade-chicken-stock/.
The 7 Non-Negotiable Safety Rules
Read these twice. Every safe canner in America follows them, and every canning horror story starts with breaking one.
1. Use tested recipes only. Grandma’s 1962 pickle recipe and random internet videos aren’t tested for safety. Acidity, density, and heat penetration were measured in laboratories. Use recipes from the USDA, the National Center for Home Food Preservation, or Ball. Every time.
2. Only water-bath high-acid foods. Jams, fruits, pickles, properly acidified tomatoes. Vegetables, meat, and stock go in the pressure canner, no exceptions, no shortcuts.
3. Never change vinegar, lemon juice, or lime juice ratios in a tested recipe. You can swap spices, but you cannot reduce or swap the acid. The acid is what keeps the food safe.
4. Use new lids every time, and jars with no chips or cracks. Lids are single-use — the sealing compound compresses once. Rings can be reused if they’re not rusted. Run your finger around every jar rim; one chip and that jar becomes a drinking glass.
5. Follow the processing time exactly, and start the timer when the water returns to a full rolling boil. Cold jars going into hot water drop the temperature. The clock starts when the boil resumes, not when the jars go in.
6. Adjust for altitude. Water boils cooler the higher you go, so process longer: at 1,001–3,000 feet add 5 minutes; 3,001–6,000 add 10; 6,001–8,000 add 15; above 8,000 add 20. Know your elevation before you start.
7. Check every seal, and refrigerate or reprocess anything that didn’t seal. After 12–24 hours of cooling, press the center of each lid. If it pops up and down, refrigerate that jar and eat it within a few weeks, or reprocess within 24 hours with a new lid.
The Equipment List (Less Than You Think)
You do not need a $200 starter kit. Here’s the real list:
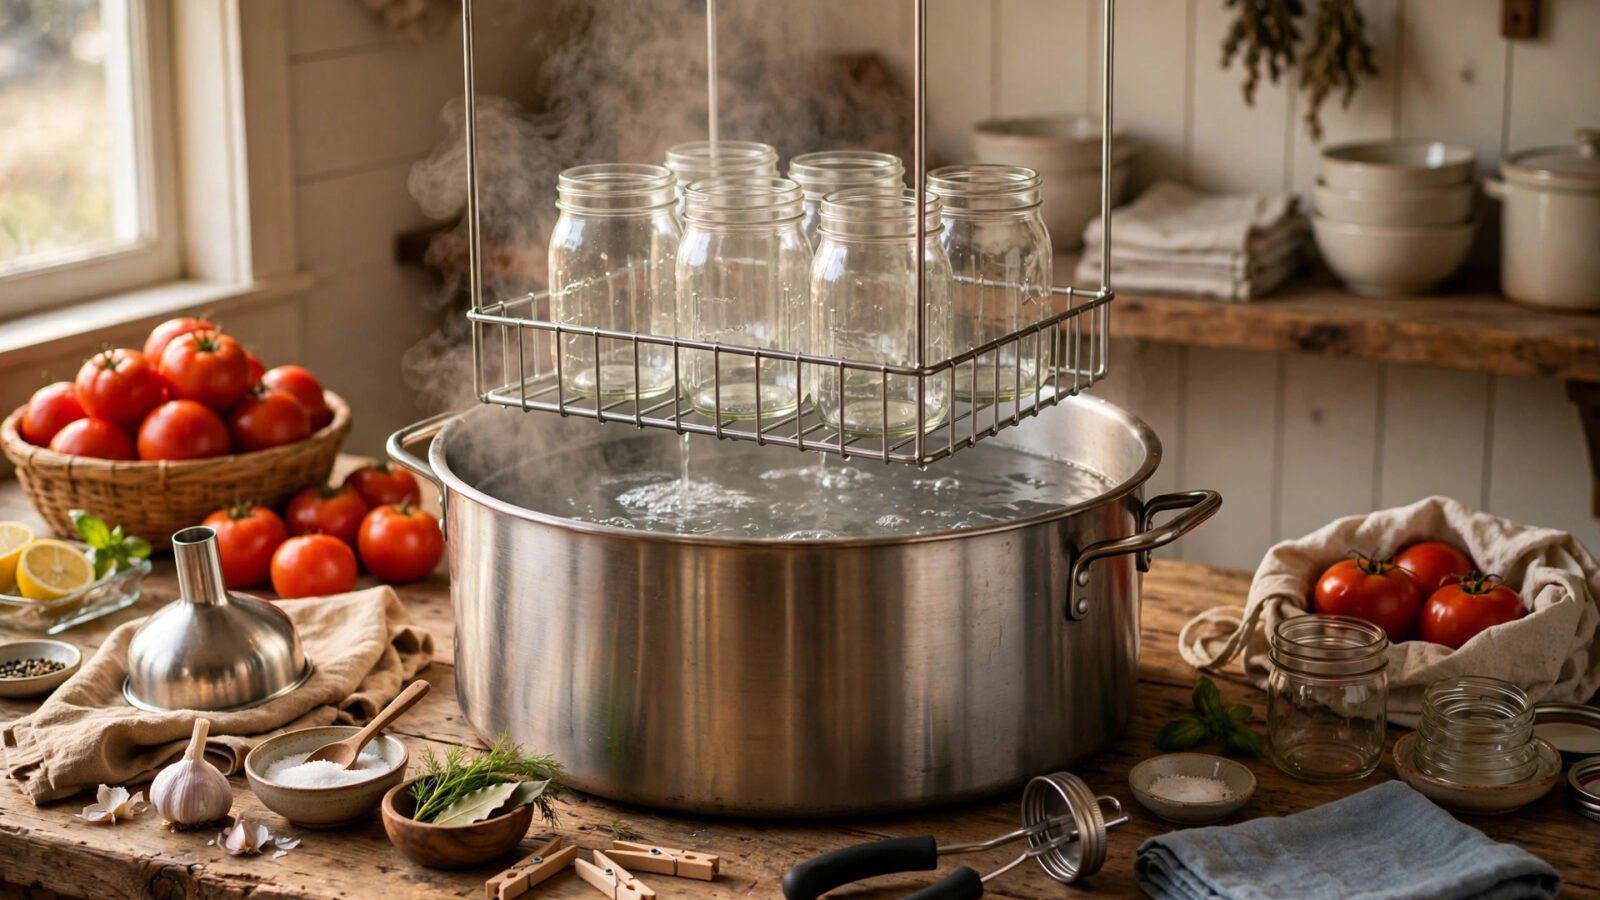
- A water bath canner with rack — a big pot with a lid and a rack that keeps jars off the bottom. A deep stockpot with a silicone trivet works, as long as you can keep 1–2 inches of water over the jar tops.
- Mason jars, new lids, and rings — half-pints and pints are perfect for your first jam. Buy jars made for canning. No repurposed spaghetti-sauce jars.
- A jar lifter — tongs shaped for jars. Worth the few dollars: wet glass is slippery, and dropping a jar of boiling-hot jam is a bad day.
- A wide-mouth funnel — keeps jam off the rims (dirty rims = failed seals).
- A bubble remover — a thin plastic stick for releasing trapped air bubbles. A chopstick works fine.
- A clean, damp cloth — for wiping jar rims before you place the lids.
- Kitchen timer — your phone is perfect.
That’s it. No gadgets, no mystery tools. If you want to trim your grocery bill even further once the jars are rolling, https://amesfamilyfarm.com/save-money-on-groceries-homestead/ pairs beautifully with a stocked canning shelf.
Your First Batch: Simple High-Acid Jam, Step by Step
We’ll make a basic strawberry jam. It’s high-acid, forgiving, and delicious. This recipe makes about 5 half-pints.
Ingredients:
- 2 pounds fresh strawberries, hulled and crushed (about 4 cups crushed)
- 4 cups granulated sugar
- 1/4 cup bottled lemon juice
- 1 packet (1.75 oz) regular powdered pectin
Step-by-step:
1. Prep your canner. Place the rack in your canner, add the empty jars, and fill with enough water to cover the jars by at least 1 inch. Bring to a simmer (180°F) and hold — hot jars won’t crack when hot jam hits them.
2. Wash everything. Wash jars, lids, and rings in hot, soapy water. Because our processing time is 10+ minutes after altitude adjustment, the processing itself sterilizes the jars. (Under 10 minutes of processing? Boil empty jars for 10 minutes first.)
3. Cook the jam. In a large, heavy-bottomed pot, combine the crushed strawberries, bottled lemon juice, and pectin. Bring to a full rolling boil over high heat — the kind you can’t stir down. Add all the sugar at once, stir to dissolve, and return to a full rolling boil. Boil hard for exactly 1 minute, stirring constantly. Remove from heat and skim off any foam.
4. Fill the jars. Ladle the hot jam into the hot jars using your funnel, leaving 1/4 inch of headspace. Slide your bubble remover around the inside to release trapped air.
5. Wipe, lid, ring. Wipe each rim with a clean, damp cloth. Center a new lid and screw the ring on fingertip-tight — snug, not cranked. Air needs to escape during processing.
6. Process. Lower jars into the canner with your jar lifter, keeping 1–2 inches of water over the tops. Lid on, bring to a full rolling boil, and start your timer: 10 minutes for half-pints at 0–1,000 feet (add altitude minutes per Rule 6).
7. Cool and wait. Turn off the heat, remove the lid, and rest jars 5 minutes in the canner (this prevents siphoning). Lift straight up onto a towel-lined counter, upright, spaced apart. Don’t touch them for 12–24 hours.
8. Check seals and store. Press each lid center — sealed lids are concave and silent. Label, date, and store rings-off in a cool, dark place. Properly sealed jam keeps up to a year.
Listen for the pings as the jars cool. That sound never gets old.
Common Mistakes (Learn From Everyone Else’s)
“I used my great-grandmother’s recipe.” We love family recipes too — but food science has moved on. Tomato varieties are less acidic than they used to be, and old recipes weren’t tested. Keep the family recipe as an heirloom; can the tested version.
“I water-bathed my green beans. It sealed, so it’s fine, right?” No. This is the most dangerous mistake in canning. A sealed jar is not a safe jar. Botulism spores survive boiling water, and in a sealed, low-acid, oxygen-free jar, they can produce a toxin you can’t see, smell, or taste. Green beans must be pressure canned. Always.
“I reduced the sugar because we’re cutting back.” In jams, sugar is doing two jobs: preservation and set. Cutting it changes both. If you want low-sugar jam, use a recipe specifically developed and tested as low-sugar (they exist — just don’t freestyle it).
“I flipped the jars upside down to seal them instead of processing.” The “inversion method” does not kill spoilage organisms inside the jar. It’s not canning; it’s gambling. Always process for the full time.
“I reused my lids.” New lids every single time. The sealing compound is designed for one heat cycle.
FAQ
How long does home-canned jam last?
Properly sealed and stored in a cool, dark place, up to one year for best quality. It won’t necessarily become unsafe after a year, but color, flavor, and nutrition decline.
Why didn’t my jars seal?
The usual suspects: dirty or chipped rims, reused lids, rings cranked too tight (trapping air), or not enough processing time. Refrigerate unsealed jars and eat within 3 weeks, or reprocess within 24 hours with new lids.
Can I can in the oven or use my Instant Pot as a water bath?
No to both. Ovens heat unevenly and don’t guarantee the food reaches the right temperature throughout. Electric pressure cookers are not tested or approved as canners. Use a proper water bath canner.
Do I have to sterilize jars if my processing time is 10 minutes or more?
No — processing of 10 minutes or longer sterilizes the jars during the process. Under 10 minutes, boil empty jars for 10 minutes first.
Where do I find tested recipes?
The USDA Complete Guide to Home Canning, the National Center for Home Food Preservation website, and Ball’s Blue Book are the gold standards.
Conclusion: Your Pantry Is About to Change
Water bath canning looks intimidating from the outside and feels like second nature by your third batch. Start with jam, graduate to pickles and applesauce, and when tomato season rolls around, you’ll be ready for the big one — our step-by-step https://amesfamilyfarm.com/how-to-can-tomatoes/ guide walks you through the whole fall harvest.
Every jar you seal is groceries you don’t have to buy, flavor you can’t get from a store shelf, and a little more control over what your family eats. That first ping is waiting for you.
Your move this week: grab a flat of strawberries, a box of jars, and block out one Saturday morning. Tag us @amesfamilyfarm when those lids start popping — we want to hear it.