There’s a jar in my pantry right now that I guard like it contains something precious. Sweet, tangy, shatteringly crisp cucumber slices in a golden turmeric-tinted brine. My kids eat them straight out of the jar. My husband puts them on everything that isn’t nailed down. And every time someone asks for the recipe, I get to say the best sentence in home food preservation: “I canned those.”
Bread and butter pickles are the perfect gateway canning project. They’re forgiving, they use simple ingredients you probably already have, they’re processed in a plain water bath canner (no pressure canner needed), and the result tastes like nothing from a grocery store shelf. If you’ve been canning-curious, this is your recipe.
What Makes Bread and Butter Pickles Different
If dill pickles are the sour, garlicky workhorse of the pickle world, bread and butter pickles are the sweet, charming cousin. The brine is vinegar-based like all pickles, but it’s sweetened generously and spiced with mustard seed, celery seed, and turmeric — which gives the pickles their signature golden color.
The name supposedly goes back to Depression-era farmers who traded these sweet pickles for staples like bread and butter. Whether or not that’s the exact origin, the name stuck, and a century later these are still one of the most beloved home-canned pickles in America. Home preserving is having a genuine moment right now — search interest in classic canning recipes keeps climbing as more people discover that a pantry shelf of homemade jars beats a grocery run — and this old-fashioned pickle is riding that wave for good reason. It keeps beautifully, gifts beautifully, and tastes like summer in October.
What You’ll Need
Equipment:
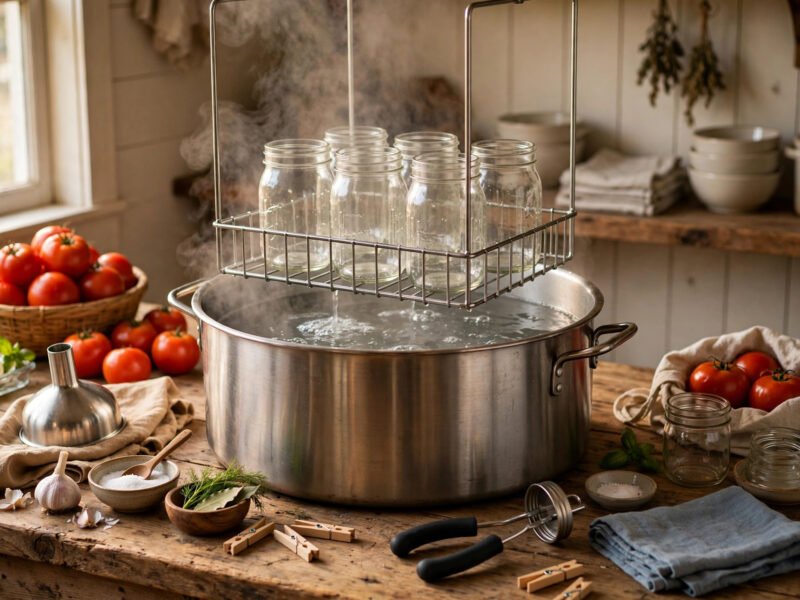
- Water bath canner (or a deep stockpot with a rack)
- 4–5 pint jars with new lids and bands
- Jar lifter, canning funnel, headspace tool (a basic canning kit covers all of this)
- Large non-reactive pot (stainless steel or enameled — not aluminum or cast iron, which react with vinegar)
Ingredients (makes about 4–5 pints):
- 4 pounds pickling cucumbers (about 12–14 small ones)
- 2 large sweet onions, thinly sliced
- 1/3 cup pickling or canning salt (not table salt — the additives cloud the brine)
- 2 cups white vinegar (5% acidity — check the label)
- 2 cups apple cider vinegar (5% acidity)
- 2 cups granulated sugar
- 1 tablespoon mustard seed
- 1 teaspoon celery seed
- 1 teaspoon ground turmeric
- 1/2 teaspoon red pepper flakes (optional, for a little warmth)
- Crushed ice
If you’re brand new to canning equipment and process, read my water bath canning for beginners first — it covers sterilizing, headspace, and processing basics in detail so you can follow this recipe with total confidence.
Step 1: Choose and Prep the Cucumbers
The pickle is only as good as the cucumber. Use pickling cucumbers — the short, bumpy Kirby-type varieties — not the long waxy slicing cucumbers from the salad aisle. Pickling cucumbers are firmer, have thinner skins, and hold their crunch through processing. Use the freshest ones you can find; cucumbers canned the same day they’re picked make noticeably crisper pickles.
Wash the cucumbers well and trim a thin slice off the blossom end (the end opposite the stem). The blossom end contains enzymes that can soften pickles — a sixteenth of an inch is all it takes. Slice into 1/4-inch rounds. Uniform slices process evenly, so take a moment with the knife or use a mandoline.
Crunch insurance: this recipe includes an ice-salt soak, which is the traditional trick for crisp pickles. Don’t skip it.
Step 2: The Ice-Salt Soak (2–3 Hours)
Toss the sliced cucumbers and sliced onions with the pickling salt in a large bowl. Cover with a layer of crushed ice and let it sit for 2 to 3 hours. The salt draws out excess water (which would dilute your brine) while the cold firms up the cell walls.
After soaking, drain everything and rinse well under cold water. Taste a slice — if it’s aggressively salty, rinse again. You want seasoned, not salt-bombed.
Step 3: Make the Brine
While the vegetables soak, combine the vinegars, sugar, mustard seed, celery seed, turmeric, and red pepper flakes (if using) in your large non-reactive pot. Bring to a boil over medium-high heat, stirring until the sugar fully dissolves.
A note on vinegar: always use vinegar labeled 5% acidity for canning. That’s the acidity level tested recipes are built around, and it’s what makes the pickles safely shelf-stable. Don’t reduce the vinegar or swap in homemade or low-acid vinegars. When in doubt, stick to tested guidance — the same principle behind the tested recipes I follow for all my canning, like my how to can tomatoes.
Step 4: Simmer the Vegetables in the Brine
Add the drained cucumbers and onions to the boiling brine. Return to a boil, then reduce the heat and simmer gently for about 5 minutes. You want the slices heated through and slightly translucent at the edges — not cooked soft. They’ll continue to soften a touch during processing, so pull them while they still have bite.
Step 5: Pack the Jars
Using your canning funnel, pack the hot cucumber-onion mixture into hot, sterilized pint jars. Ladle the hot brine over the top, leaving 1/2 inch of headspace. Run a clean utensil (a chopstick works perfectly) around the inside of each jar to release trapped air bubbles, then recheck headspace and add brine if needed.
Wipe the jar rims with a clean, damp cloth — any brine or seed on the rim can prevent a proper seal. Center a new lid on each jar and screw the band on fingertip-tight: snug, but not cranked down.
Step 6: Process in the Water Bath
Lower the jars into your boiling water bath canner, making sure they’re covered by at least 1 to 2 inches of water. Bring back to a full rolling boil and process pint jars for 10 minutes (adjust for altitude: add 5 minutes above 1,000 feet, 10 minutes above 6,000 feet).
When time is up, turn off the heat, remove the canner lid, and let the jars rest in the hot water for 5 minutes — this prevents siphoning (brine loss). Then lift them out with the jar lifter and set them upright on a towel, spaced an inch apart. Don’t touch the lids. You’ll hear the satisfying *ping* of seals forming over the next hour.
After 12 to 24 hours, check every seal: the lid should be concave and shouldn’t flex when pressed. Any jar that didn’t seal goes straight into the fridge to be eaten within a few weeks. Sealed jars get labeled with the contents and date, and the bands come off for storage (bands left on can hide a failed seal and rust in place).
The Hardest Step: Waiting
Bread and butter pickles need at least 2 weeks of rest before you open a jar. Freshly processed pickles taste harsh and one-dimensional — the vinegar needs time to mellow and the spices need time to marry. I know. It’s brutal. Label the jars with an “open after” date and hide them in the back of the pantry if you have to.
Properly sealed and stored in a cool, dark place, these keep for 12 to 18 months. Once opened, refrigerate and use within a few months.
📌 Pin this: Wait 2 full weeks before opening your first jar — fresh bread and butter pickles taste harsh, but two weeks of rest turns them sweet, mellow, and perfect.
Troubleshooting Common Pickle Problems
Even a simple recipe can throw a curveball. Here’s how to handle the most common issues:
- Soft or mushy pickles. The usual culprits are old cucumbers, skipping the ice-salt soak, or overcooking the slices in the brine. Use the freshest pickling cucumbers you can find, don’t skip the soak, and pull the slices while they still have bite — remember they soften slightly during processing.
- Cloudy brine. This is almost always table salt instead of pickling salt, or hard water minerals. It’s harmless but unsightly. Stick with pure pickling or canning salt and, if your tap water is very hard, use filtered water for the brine.
- Jars didn’t seal. Check your headspace (too much or too little both cause trouble), make sure rims were wiped clean, and confirm the water bath stayed at a full rolling boil the entire processing time. Unsealed jars go in the fridge, not the pantry.
- Pickles taste too sharp. You opened them too early. Give the jars the full two weeks — the vinegar mellows dramatically, and the difference between week one and week three is night and day.
Ways to Use (and Gift) Them
Beyond the obvious burger and sandwich duty, bread and butter pickles earn their pantry space:
- Chopped into tuna or chicken salad for sweet crunch
- On a cheese board next to sharp cheddar
- Diced into tartar sauce or remoulade
- Straight from the jar at midnight (no judgment)
And they make genuinely wonderful gifts. A jar of homemade pickles with a simple tag beats a store-bought present every time — especially around the holidays. I tuck them into the same gift rotation as my other jarred treats; if you like giving food gifts, my food gifts in jars christmas roundup has the full lineup I make every December.
Quick Recap
Use fresh pickling cucumbers, don’t skip the ice-salt soak, keep your vinegar at 5% acidity, leave 1/2 inch headspace, process pints 10 minutes in a water bath, and wait two weeks before opening. That’s the whole recipe — simple, safe, and endlessly repeatable. Once you’ve got a batch under your belt, you’ll wonder why you ever bought pickles, and your pantry shelf will start looking like the best kind of grocery store: yours.