If you’re raising backyard chickens, your biggest ongoing expense isn’t the coop — it’s the feed. A 50-pound bag of layer feed that cost $14 a few years ago can now run $20–25 depending on where you live. And your hens plow through it shockingly fast.
Here’s the good news: there’s a dead-simple trick that backyard chicken keepers have used for generations to stretch every bag of feed further — fermenting it. By soaking your flock’s regular feed in water for a few days, you can cut your feed bill by as much as 40% while feeding your birds something that’s actually *more* nutritious than dry feed.
I was skeptical the first time someone told me this. It sounded like homesteader folklore. Then I ran the numbers on my own flock of ten hens, and the savings were real enough to make me a believer. Let me show you exactly how it works.
What Is Fermented Chicken Feed?
Fermented chicken feed is simply your regular dry feed — pellets, crumbles, or whole grains — soaked in dechlorinated water until natural lactic-acid bacteria go to work on it. The process is almost identical to making sourdough starter or sauerkraut: beneficial bacteria consume some of the starches and sugars, produce lactic acid, and transform the feed into a tangy, yogurt-scented mash.
This isn’t some new TikTok hack. People have been fermenting grains for livestock for centuries. The science behind it is solid, and it’s one of the highest-return chores you can add to your daily chicken routine — about three minutes of effort per day.
Why Ferment? The Benefits Are Stacked
1. You use less feed — up to 40% less
This is the headline reason, and it works through a few mechanisms:
- No waste. Dry crumbles get flicked out of feeders by scratching hens and wasted on the ground. Fermented feed is a wet mash — it sticks together in a clump, and chickens gobble it up instead of scattering it.
- More nutrition per scoop. Fermentation breaks down anti-nutrients like phytic acid, unlocking minerals (phosphorus, calcium, iron) that would otherwise pass right through your birds.
- Better digestion. The pre-digested starches mean hens extract more calories from less feed. Studies on fermented feed for poultry consistently show improved feed-conversion ratios.
- Hens feel full longer. Fermented feed holds more water, so each serving is more satisfying. You’ll notice your flock visiting the feeder less frantically.
For a flock of 10 hens eating roughly 5 pounds of dry feed a day, a 30–40% reduction means saving about 2 pounds a day — roughly a 50-pound bag *a month*. At $22 a bag, that’s $264 a year back in your pocket.
2. Better egg production and shell quality
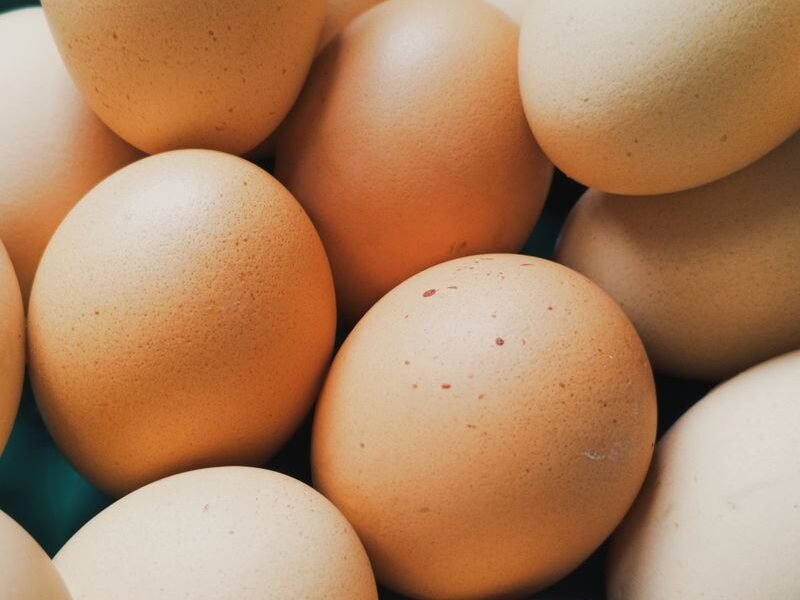
The improved mineral absorption — especially calcium and phosphorus — shows up where it counts: in the nesting box. Many keepers report stronger shells and steadier laying after switching. Healthier guts absorb vitamin D and calcium more efficiently, which is the raw material of every eggshell.
3. Healthier chickens, less smelly coop
The lactic-acid bacteria in fermented feed act as a natural probiotic. Benefits reported by keepers include:
- Firmer, less smelly droppings (fermentation reduces the undigested protein that makes chicken poop stink)
- Better gut health and fewer digestive upsets
- Stronger immune response — a huge portion of a bird’s immunity lives in its gut
- Less feed competition drama at the feeder
4. Protein content actually increases slightly
Here’s a fun one: during fermentation, the bacteria consume carbohydrates and leave the protein behind, so the *relative* protein percentage of the feed nudges upward. A 16% layer feed can test closer to 17–18% protein after fermentation. It’s a modest bump, but it’s real — and it’s free.
How to Ferment Chicken Feed: The 3-Day Process
You’ll need almost nothing special: a food-grade bucket with a lid, your regular feed, and dechlorinated water.
Step-by-Step Checklist
Day 0 — Set up (5 minutes)
1. Place a clean, food-grade bucket in a spot that’s room temperature (60–75°F is ideal). A basement, garage, or laundry room works great.
2. Add enough feed for about 3 days of feeding. Start small — one gallon of feed is plenty for a first batch.
3. Cover the feed with dechlorinated water, 2–3 inches above the surface. (City tap water has chlorine that kills the good bacteria — fill a bucket and let it sit uncovered for 24 hours, or use well/filtered water.)
4. Stir well, breaking up any dry clumps.
5. Cover loosely with a lid (not airtight — gases need to escape) and leave it alone.
Day 1 — Stir and top up (2 minutes)
6. Stir the mixture thoroughly, pushing any feed that’s floated up back under the water. The water line should always stay an inch or two above the feed.
7. Add water if the feed has absorbed it all. The mix should look like thick oatmeal, not soup.
Day 2 — Check the smell (2 minutes)
8. Stir again. You should notice a pleasantly sour, bread-dough or yogurt smell. Small bubbles may be visible. That’s fermentation happening — the lactobacillus is colonizing your bucket.
9. If it smells sharply alcoholic or rotten, dump it, clean the bucket, and start over (this is rare if you kept everything submerged).
Day 3 — Feed your flock (3 minutes)
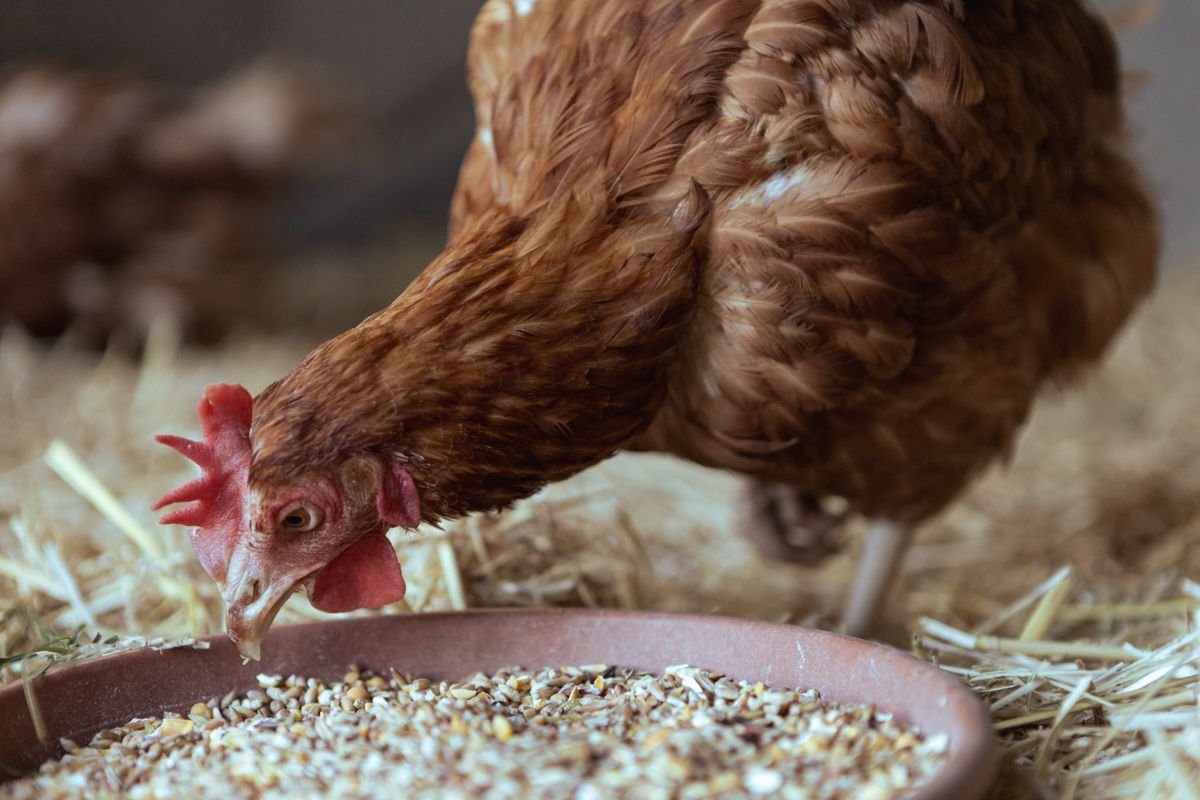
10. Scoop out what you need and serve it in a trough, rubber feed pan, or old baking dish. Fermented feed works best in open containers, not standard feeders.
11. Top up the bucket with fresh feed and water to keep the cycle going — you now have a perpetual ferment going, like a sourdough starter.
12. Watch your hens lose their minds. Chickens generally take to fermented feed within a day or two.
How much to feed
A good starting rule: feed roughly 1/4 cup of dry feed equivalent per hen per day, split into morning and evening feedings. Fermented feed expands, so it’ll look like more — trust the dry measurement. Watch your birds’ body condition for a week or two and adjust up or down. Active foragers need less; confined hens need a bit more.
Common Mistakes When Fermenting Feed
1. Using chlorinated tap water. Chlorine and chloramine are designed to kill bacteria — including the beneficial ones you’re trying to grow. Always dechlorinate first.
2. Letting feed sit above the water line. Exposed feed can mold. Keep everything submerged with an inch of water on top at all times.
3. Sealing the lid airtight. Fermentation produces CO₂. A sealed bucket builds pressure — always cover loosely or drill a small vent hole.
4. Fermenting in extreme heat. Above ~85°F, fermentation speeds up and can turn alcoholic or sour too fast. In summer, ferment in a cool spot and use batches within 3 days.
5. Switching cold turkey. Mix fermented feed with dry feed for a few days so picky hens adjust. Most convert within a week.
6. Serving in closed feeders. The wet mash clogs gravity feeders and hanging tubes. Use open pans or troughs and rinse them daily.
Fermented Feed FAQ
Can I ferment any type of chicken feed?
Yes — layer pellets, crumbles, grower feed, scratch grains, and whole grains all ferment well. Mash-style feeds work best because they absorb water fastest. Avoid medicated feed for fermentation; the process can interfere with the medication.
How long does fermented feed last?
At room temperature, use each batch within 3–4 days. In summer heat, 2–3 days. A healthy ferment smells tangy-sweet like bread dough or yogurt. If it ever smells rancid, sharp like nail polish remover, or shows pink/green/black mold — throw it out and start fresh.
Do I still need to offer grit and oyster shell?
Yes! Fermentation doesn’t replace grit (for grinding food in the gizzard) or oyster shell (for calcium). Keep both available free-choice as always.
Is fermented feed safe for chicks?
Yes, and many breeders swear by it — the soft texture is easy for chicks to eat, and the probiotics support young immune systems. Just keep batches small so nothing sits long, and serve fresh daily for chicks under 4 weeks.
Won’t wet feed freeze in winter?
It can. Serve only what they’ll eat in 20–30 minutes on very cold mornings, or offer the ferment inside the coop. In deep winter, some keepers switch back to dry feed temporarily — there’s no shame in that.
The Savings Receipts: A Real-World Example
Let’s run honest numbers for a flock of 10 laying hens:
- Dry feed: 10 hens × ~0.3 lb/day = 3 lbs/day → ~90 lbs/month → about two 50-lb bags ($22 each) = $44/month
- Fermented feed (35% savings): ~58 lbs/month → just over one 50-lb bag = $25/month
- Monthly savings: ~$19 — or roughly $228 per year
Add in fewer wasted bags, better laying rates, and less spent on digestive health issues, and the real number is often higher. For the price of a bucket and five minutes of setup, that’s one of the best returns in all of backyard chicken keeping.
Conclusion: Try It for One Bag
Fermented chicken feed is one of those rare homestead wins that is cheaper, healthier, and simpler all at once. Start with one gallon of feed in a bucket this weekend, and give it the full 3-day cycle. Watch your feed bill shrink and your flock thrive.
Ready to cut your feed bill? Start your first batch today — then check out our guide to https://amesfamilyfarm.com/mistakes-new-chicken-owners/ to avoid the other costly beginner traps, and learn how to keep those savings coming through winter with https://amesfamilyfarm.com/keep-chickens-laying-eggs-winter/. Your hens — and your wallet — will thank you.