Every October, I see the same panic post in every backyard-chicken group: “It’s dropping to 25°F tonight — are my chickens going to be okay?!” And every year, the answer is the same: yes, if you did your homework in the fall.
Chickens are tougher than they look — a healthy hen is basically wearing a down jacket she never takes off. What harms them in winter isn’t the cold itself, but moisture, direct wind, and frozen water. That changes everything about how you should winterize a chicken coop.
This checklist walks you through the nine steps that matter, in order. Do them once, in October or early November, and you’ll spend the winter collecting eggs instead of worrying.
Step 1: Understand the Golden Rule — Ventilation, Not Drafts
Before you touch a single tool, let’s bust the biggest myth in winter chicken keeping: sealing the coop up tight is the worst thing you can do.
Chickens breathe out warm, moist air all night. That moisture rises. If it has nowhere to go, it condenses on cold combs and wattles — and that is exactly how frostbite happens. A damp coop at 20°F is far more dangerous than a dry coop at 10°F.
Here’s the distinction that matters:
- Ventilation = air exchange high up, above the roosting birds. It carries moisture and ammonia out without chilling anyone.
- Drafts = cold air blowing directly across the birds at roost level. This strips body heat and makes them miserable.
Your goal: keep vents near the roof open all winter, and block any gaps at roost level or below. Got it? Everything else follows from this.
Step 2: Inspect the Coop Like a Detective
Grab a flashlight and walk around your coop on a windy day. Feel along every wall, corner, and joint for air leaking in at roost height. Mark every draft with painter’s tape — you’ll fix them in the next step.
Check these spots first:
- Where walls meet the floor (the most common draft source)
- Around windows and the pop door
- Roof seams and eaves (good for ventilation — leave these alone if they’re high)
- The floor itself — is it rotting, sagging, or letting water wick up?
📌 Pin this: Do this inspection in October, not December. Caulk doesn’t cure properly below 40°F, and nobody wants to be on a ladder in an ice storm.
Step 3: Seal Drafts at Roost Level
Now go back to your tape marks and seal every low-level gap:
- Use exterior caulk for small cracks and joints.
- Staple hardware cloth over any holes bigger than a quarter — mice and rats look for winter shelter too.
- Check that windows close fully and latch. A warped window that rattles open in a January windstorm is a classic surprise.
Leave the high vents alone. Seriously — don’t touch them. If your coop doesn’t have high vents, add some now (Step 5).
Step 4: Deep-Clean Before Winter Locks In
Winter is not the time for a full coop overhaul, but fall is. Scrape out the old bedding, scrub the roosts, and check for mites while you’re at it. Winter mites are miserable because birds are cooped up longer and you don’t want to do a full treatment in January.
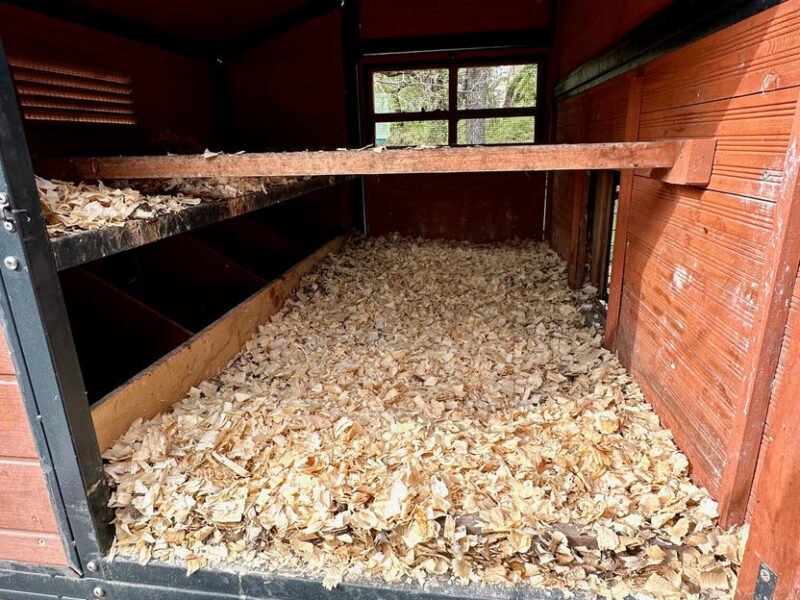
This is also the perfect moment to start the https://amesfamilyfarm.com/deep-litter-method-chickens/ — a thick, layered bedding system that you’ll simply top off all winter instead of cleaning out. It generates a small amount of composting heat and keeps feet off cold floors.
Step 5: Add (or Protect) High Ventilation
Walk into the coop and look up. You want ventilation openings up near the roofline — ideally on at least two sides so moist air can actually move through. A good rule of thumb is about 1 square foot of vent space per 10 square feet of floor, but honestly, most coops need more than people think.
If you don’t have high vents, this fall is the time to cut them:
- Cut openings high on the gable ends or just under the eaves.
- Cover every opening with 1/2-inch hardware cloth (not chicken wire — raccoons tear through chicken wire).
- Make sure the vents are above the highest roost bar so rising warm air exits without flowing across sleeping birds.
If you already have ridge vents or gable vents, just make sure they aren’t blocked by cobwebs, nests, or last summer’s dust.
Step 6: Insulate the Easy Wins
You do not need to fully insulate a chicken coop — chickens do fine without it in most of the US. But a few cheap moves pay off:
- Staple feed bags or cardboard on the inside of the windiest wall as a windbreak (remove them in spring so they don’t harbor mites).
- Hang a heavy curtain or rubber mat strips over the pop door so birds can push through but wind can’t whip straight in.
- Bank straw bales around the outside of the north and west walls if you get brutal winds. It’s ugly, it’s temporary, and it works beautifully.
Skip the heat lamp unless you’re in truly extreme conditions — and if you do use supplemental heat, read https://amesfamilyfarm.com/do-chickens-need-heat-in-winter/ first. Heat lamps are a leading cause of winter coop fires.
Step 7: Winterize the Water Situation
Frozen water is the number one daily winter chore, so solve it before the first freeze:
1. Switch to a heated waterer or add a heated base under your existing one. This is the single best winter purchase you can make.
2. Move waterers out of the coop if possible. Spilled water inside the coop adds the exact moisture you’re trying to vent away. A covered run corner is ideal.
3. Keep a backup plan. Even heated waterers fail in single-digit cold snaps. Keep a second waterer you can swap in, or plan to bring fresh warm water twice a day during extreme cold.
Also: stop filling waterers to the brim on freezing nights. A half-full waterer that freezes solid is easier to knock out and refill than a full one fused to the base.
Step 8: Stock Up and Prep the Run
Winter means fewer trips to the feed store in bad weather. Stock up now:
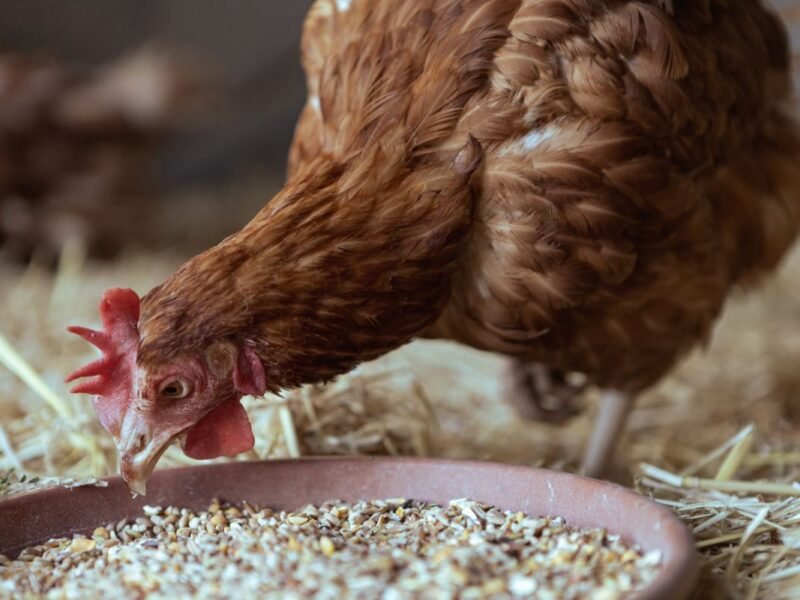
- Extra feed — chickens eat more in winter to fuel their internal furnaces. Keep at least a month’s supply dry and rodent-proof.
- Extra bedding — you’ll be topping off the deep litter all season. Pine shavings or straw, whichever you use.
- Grit and oyster shell — keep both available free-choice all winter.
- A bale of straw for the run — spread it over mud and ice so birds have something to stand on. Wet, muddy runs lead to frostbitten feet faster than cold air does.
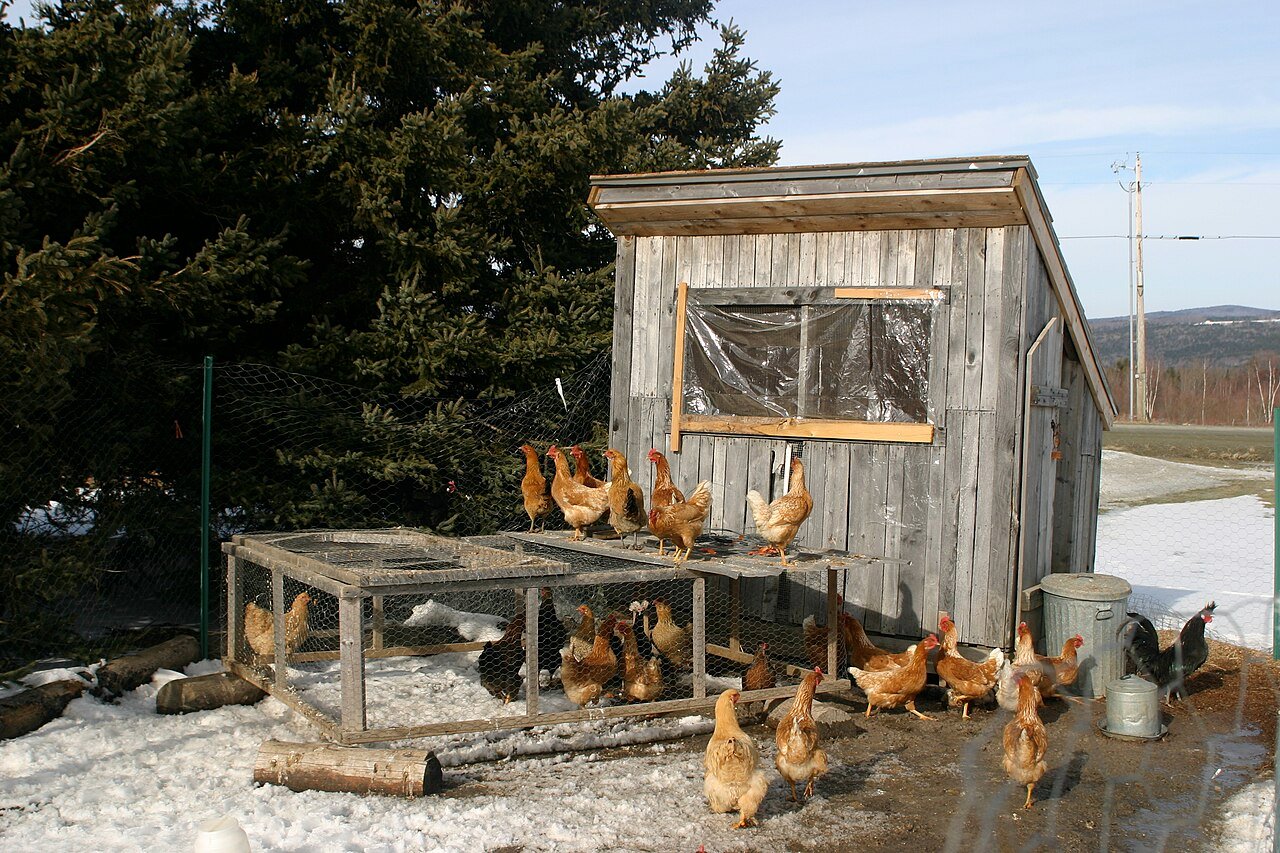
Wrap the windward sides of the run with clear greenhouse plastic or tarps, leaving the south side open. This gives your flock a dry, wind-free outdoor space on all but the worst days — and chickens that go outside stay healthier and keep laying better.
Step 9: Make a Cold-Snap Plan
Finally, decide now what you’ll do when the forecast shows single digits or below:
- Egg collection: Collect eggs 2–3 times a day during hard freezes. A frozen egg cracks, and a cracked egg in the nest box teaches egg-eating fast.
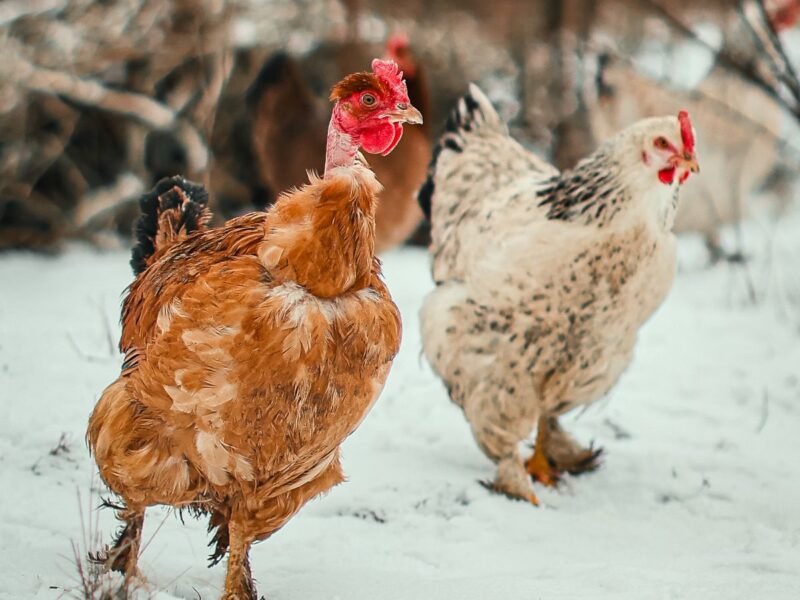
- Comb protection: For roosters and large-combed breeds, a thin smear of petroleum jelly on combs and wattles before a brutal night helps prevent frostbite.
- Extra calories: Toss some scratch grains or cracked corn in the late afternoon. Digesting grains overnight generates body heat — it’s like a bedtime snack that doubles as a furnace.
- Know your breeds: Cold-hardy breeds with small combs (like Buckeyes, Chanteclers, and Wyandottes) shrug off weather that stresses Mediterranean breeds. If you’re planning next year’s flock, check out https://amesfamilyfarm.com/cold-hardy-chicken-breeds/.
Common Mistakes When Winterizing a Chicken Coop
Mistake #1: Sealing the coop airtight. The most common and most harmful mistake. Moisture builds up, ammonia builds up, frostbite follows. Vents stay open — always.
Mistake #2: Putting the waterer inside the coop. Spills and evaporation spike humidity right where the birds sleep. Move it to the run.
Mistake #3: Adding a heat lamp “just in case.” Chickens acclimate to cold gradually through fall. A heat lamp prevents that acclimation, and if the power goes out, suddenly un-acclimated birds face the full cold. Plus the fire risk is real.
Mistake #4: Forgetting the run. A winterized coop with a windswept, muddy run means birds stay inside all day, get bored, start pecking each other, and stop laying. Wrap the run and give them straw to stand on.
Mistake #5: Waiting until the first freeze. Everything on this list is ten times harder in freezing weather. October you is doing December you a huge favor.
FAQ: Winterizing Your Chicken Coop
When should I start winterizing my chicken coop?
Start in October, or about 4–6 weeks before your area’s average first freeze. This gives caulk time to cure and lets you fix surprises without racing a cold snap.
Do chickens need a heater in the coop?
Almost never. Healthy adult chickens handle sub-freezing temperatures fine as long as the coop is dry, draft-free, and ventilated. Below 0°F, for chicks, or for sick birds, use flat-panel radiant heaters instead of heat lamps.
How cold is too cold for chickens?
Most laying breeds are comfortable down to about 0°F in a proper coop. Below -10°F, prioritize unfrozen water, wind protection, and more frequent checks — and watch for lethargy, pale combs, or birds refusing to leave the roost.
Should I close the coop vents in winter?
No — never fully close them. High ventilation must stay open all winter to carry moisture out. Only block drafts at roost level and below.
Will my chickens still lay eggs in winter?
Production usually drops because of shorter days, not cold. If you want winter eggs, the fix is supplemental light, not heat — see https://amesfamilyfarm.com/keep-chickens-laying-eggs-winter/ for the full lighting guide.
Conclusion
Winterizing a chicken coop isn’t about building a fortress — it’s about managing moisture, blocking wind at bird level, and planning for frozen water before it happens. Run through these nine steps once this fall, and winter becomes the easy season: fewer chores, healthier birds, and eggs all year long.
Your action step this week: Do the flashlight draft inspection (Step 2) and order a heated waterer if you don’t have one. Those two moves alone prevent 80% of winter chicken problems.
📌 Pin this checklist so it’s waiting for you every October — and share it with the friend who’s getting chicks next spring. Future them will thank you.